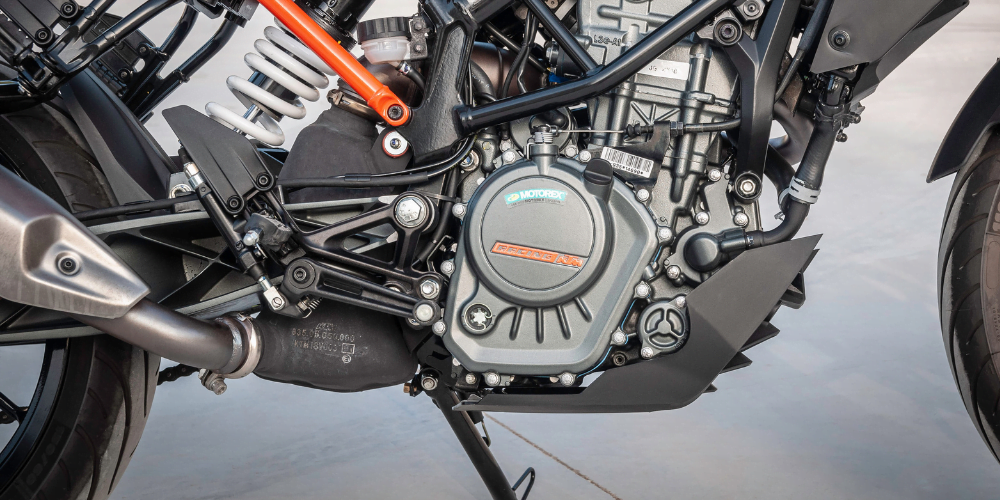
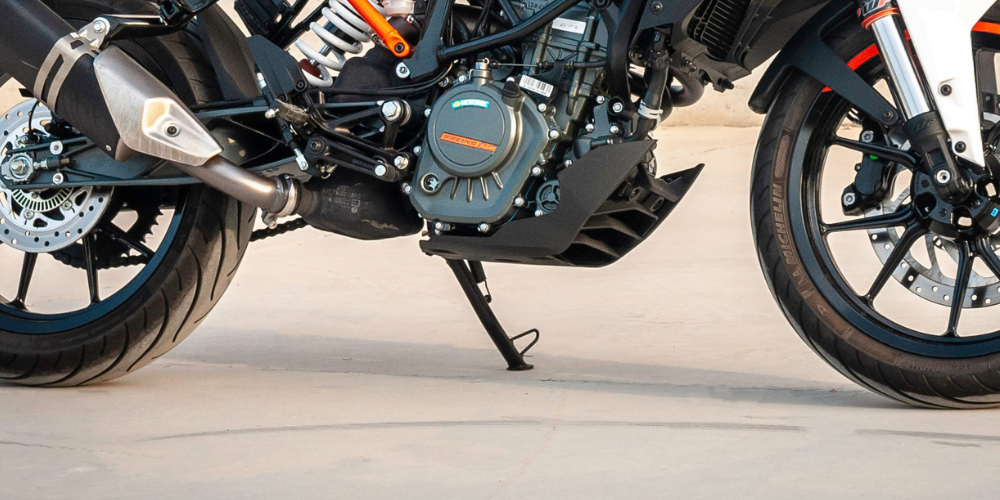
It is common knowledge that the health of a vehicle depends on the health of its engine. The engine is like the heart of a motorcycle and any damage to it will inevitably affect the functioning of the bike. Thus, it is an important and regular process to change motorcycle engine oil.
Engine oil acts as a protective barrier for the engine, by lubricating its moving parts to avoid friction and preventing corrosion, rust or outside pollution from damaging the engine. With wear and tear of the bike, the engine oil too gets old and ineffective after some time and thus needs to be changed.
Draining the old oil and putting in fresh oil is an important maintenance process that cannot be skipped or ignored. While most people use mechanic services to complete this task, it is actually really simple to change engine oil at home, using the following steps to change motorcycle engine oil:

Gather necessities to change engine oil
Before beginning the process of changing the engine oil, it is important to have all the necessary tools and objects at hand. You will need a wrench, some drip pans to collect the oil, some washcloths and rags to wipe off the grease and oil, the owner’s manual, fresh engine oil, a new oil filter and a washer for the drain plug, if needed. Once you have all these essential things in place, you can start the process of changing your motorcycle’s engine oil.
Warm up the motorcycle engine
Draining the engine oil when it’s completely cold can be difficult. On the other hand, scalding hot oil can also lead to problems. This is why it is important to get the oil to a moderate temperature. This can be done by starting the engine and waiting for it to warm up and then turning it off for about 10-15 minutes to cool it back down to a manageable temperature. Once this is done, ensure your bike is positioned properly on the stand, on flat ground with plenty of space for you to move about.

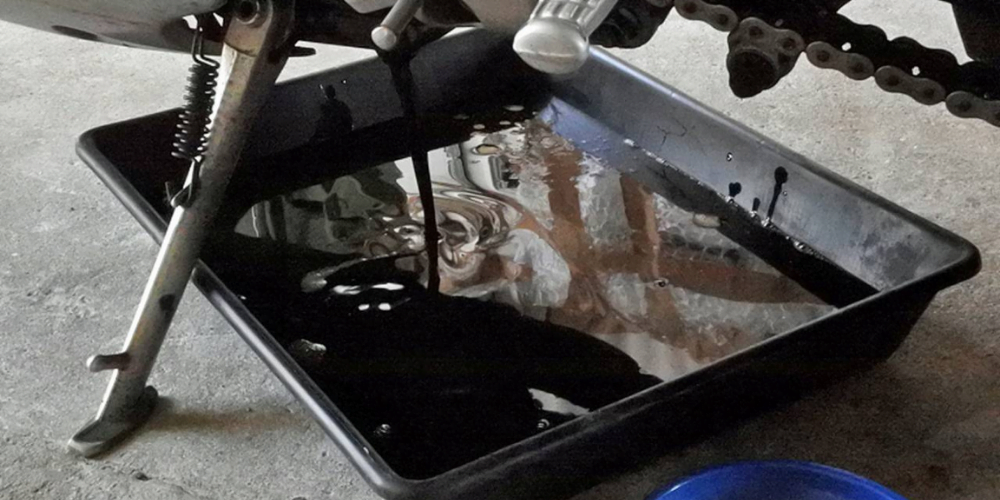
Place drip pan and remove the drain plug
Before starting to drain the engine, it is important to place pans under it to catch the oil when it starts to drip out. Once the drip pans are in place, you can begin removing the drain plug. The drain plug is situated at the bottom of the motorcycle’s engine. You can refer to the owner’s manual to locate it. Once you do, remove the drain plug using a wrench and then let the engine run dry. Wait for the engine to stop dripping completely before moving on to the next step.
Remove oil filter and drain oil from the motorcycle
For most engines, the oil filter is located somewhere above the drain plug. Locate the oil filter by referring to the owner’s manual. Once the filter is in sight, you should proceed to remove it either by unscrewing it by hand or by using a wrench if it is too tight. Once the oil filter is removed, some leftover oil will start draining out. Wait for the whole engine to run dry and let all of the old oil drip out.
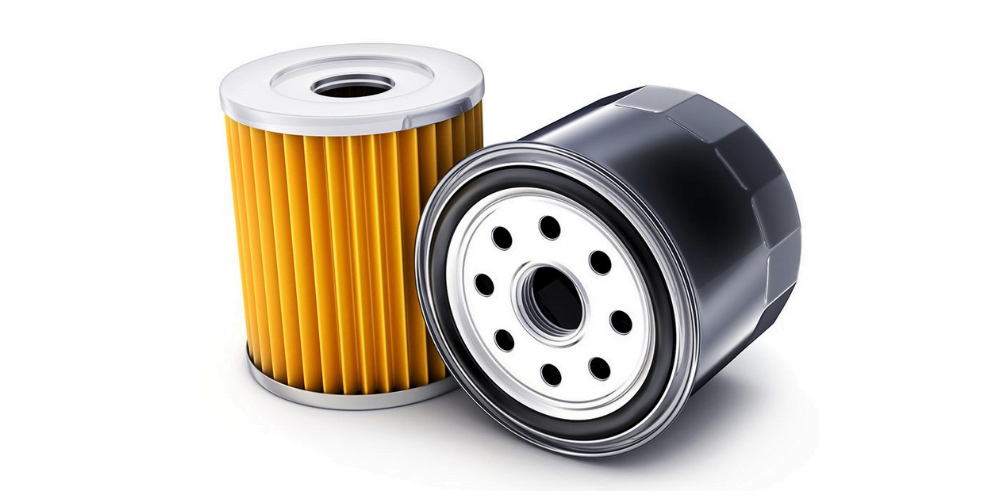
Install new oil filter in the motorbike
Once the engine is fully drained, it is time to install the new oil filter. Take the new filter and apply a little bit of the oil you just drained, to the O-ring, which will come in contact with the engine. Once that is done, you can set the filter in place and tighten it by hand. Ensure it is tightened properly to prevent leaks but also is not too tight to cause issues later. A good rule of thumb is to spin the filter in until you feel the O-ring touch the surface of the engine and then do another half turn to fit it in properly.
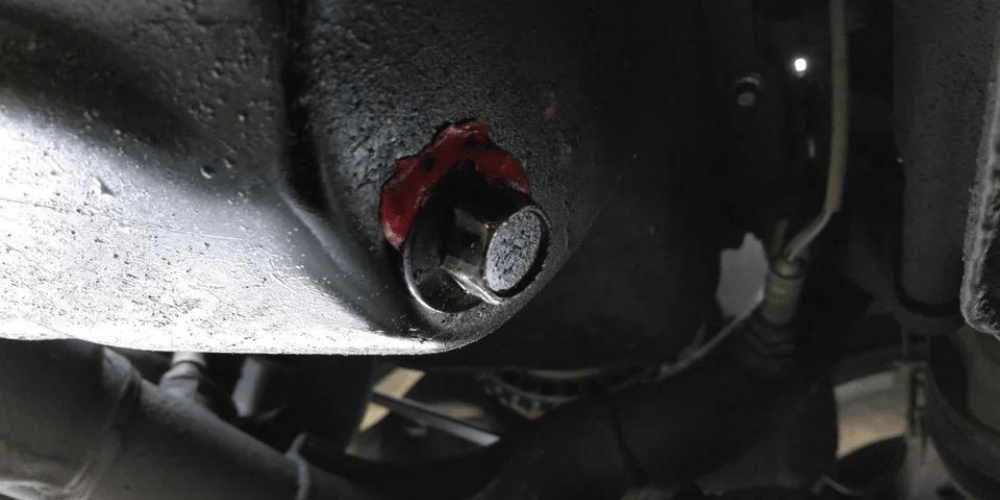
Put the drain plug back
After replacing the oil filter, the drain plug too should be put back. Before fitting it in, it is important to check the washer of the plug to ensure it is not worn out. If it is, then you should replace the washer before putting the plug back. Just as with the oil filter, it is important to tighten it enough to avoid leaks but not overtighten it. You can use a wrench to fit the drain plug back.
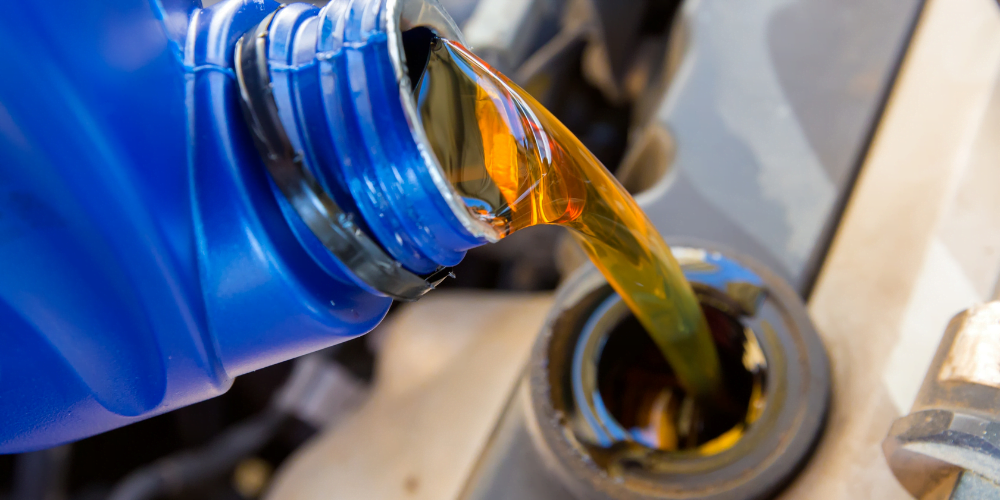
Pour new engine oil in the motorcycle
Once both the oil filter and the drain plug are secure, you can start to pour in the engine oil. Before putting the oil in, it is important to check the owner’s manual to see what type and grade of engine oil is recommended for your model and make. You can use a funnel to prevent the oil from spilling and then fill up the engine oil. You should refer to the owner’s manual and only fill up to the recommended oil level.
Check for leaks
Once the new engine oil is in, clean the areas that the oil may have spilled over to, get rid of the drain pans and then check for leaks. You should carefully go over the engine area to ensure no oil is dripping out. After that, it is also important to start up the engine and let it idle for a few minutes to make sure everything is fine.
Conclusion
Changing the engine oil of your motorcycle regularly is important for the health of your vehicle and its engine. While you can ask a mechanic to change your engine oil, it is a simple procedure that can also be done at home. However, it is important to follow the instructions in the owner’s manual before attempting to change the oil yourself. It is also recommended to get other regular maintenance checks done apart from simply changing the engine oil to ensure holistic care of your motorcycle.